
I was so excited when this bundle of awesomeness arrived from Michael Miller Fabrics a few weeks ago, and couldn’t wait to get started on my tree skirt.

What you’ll need:
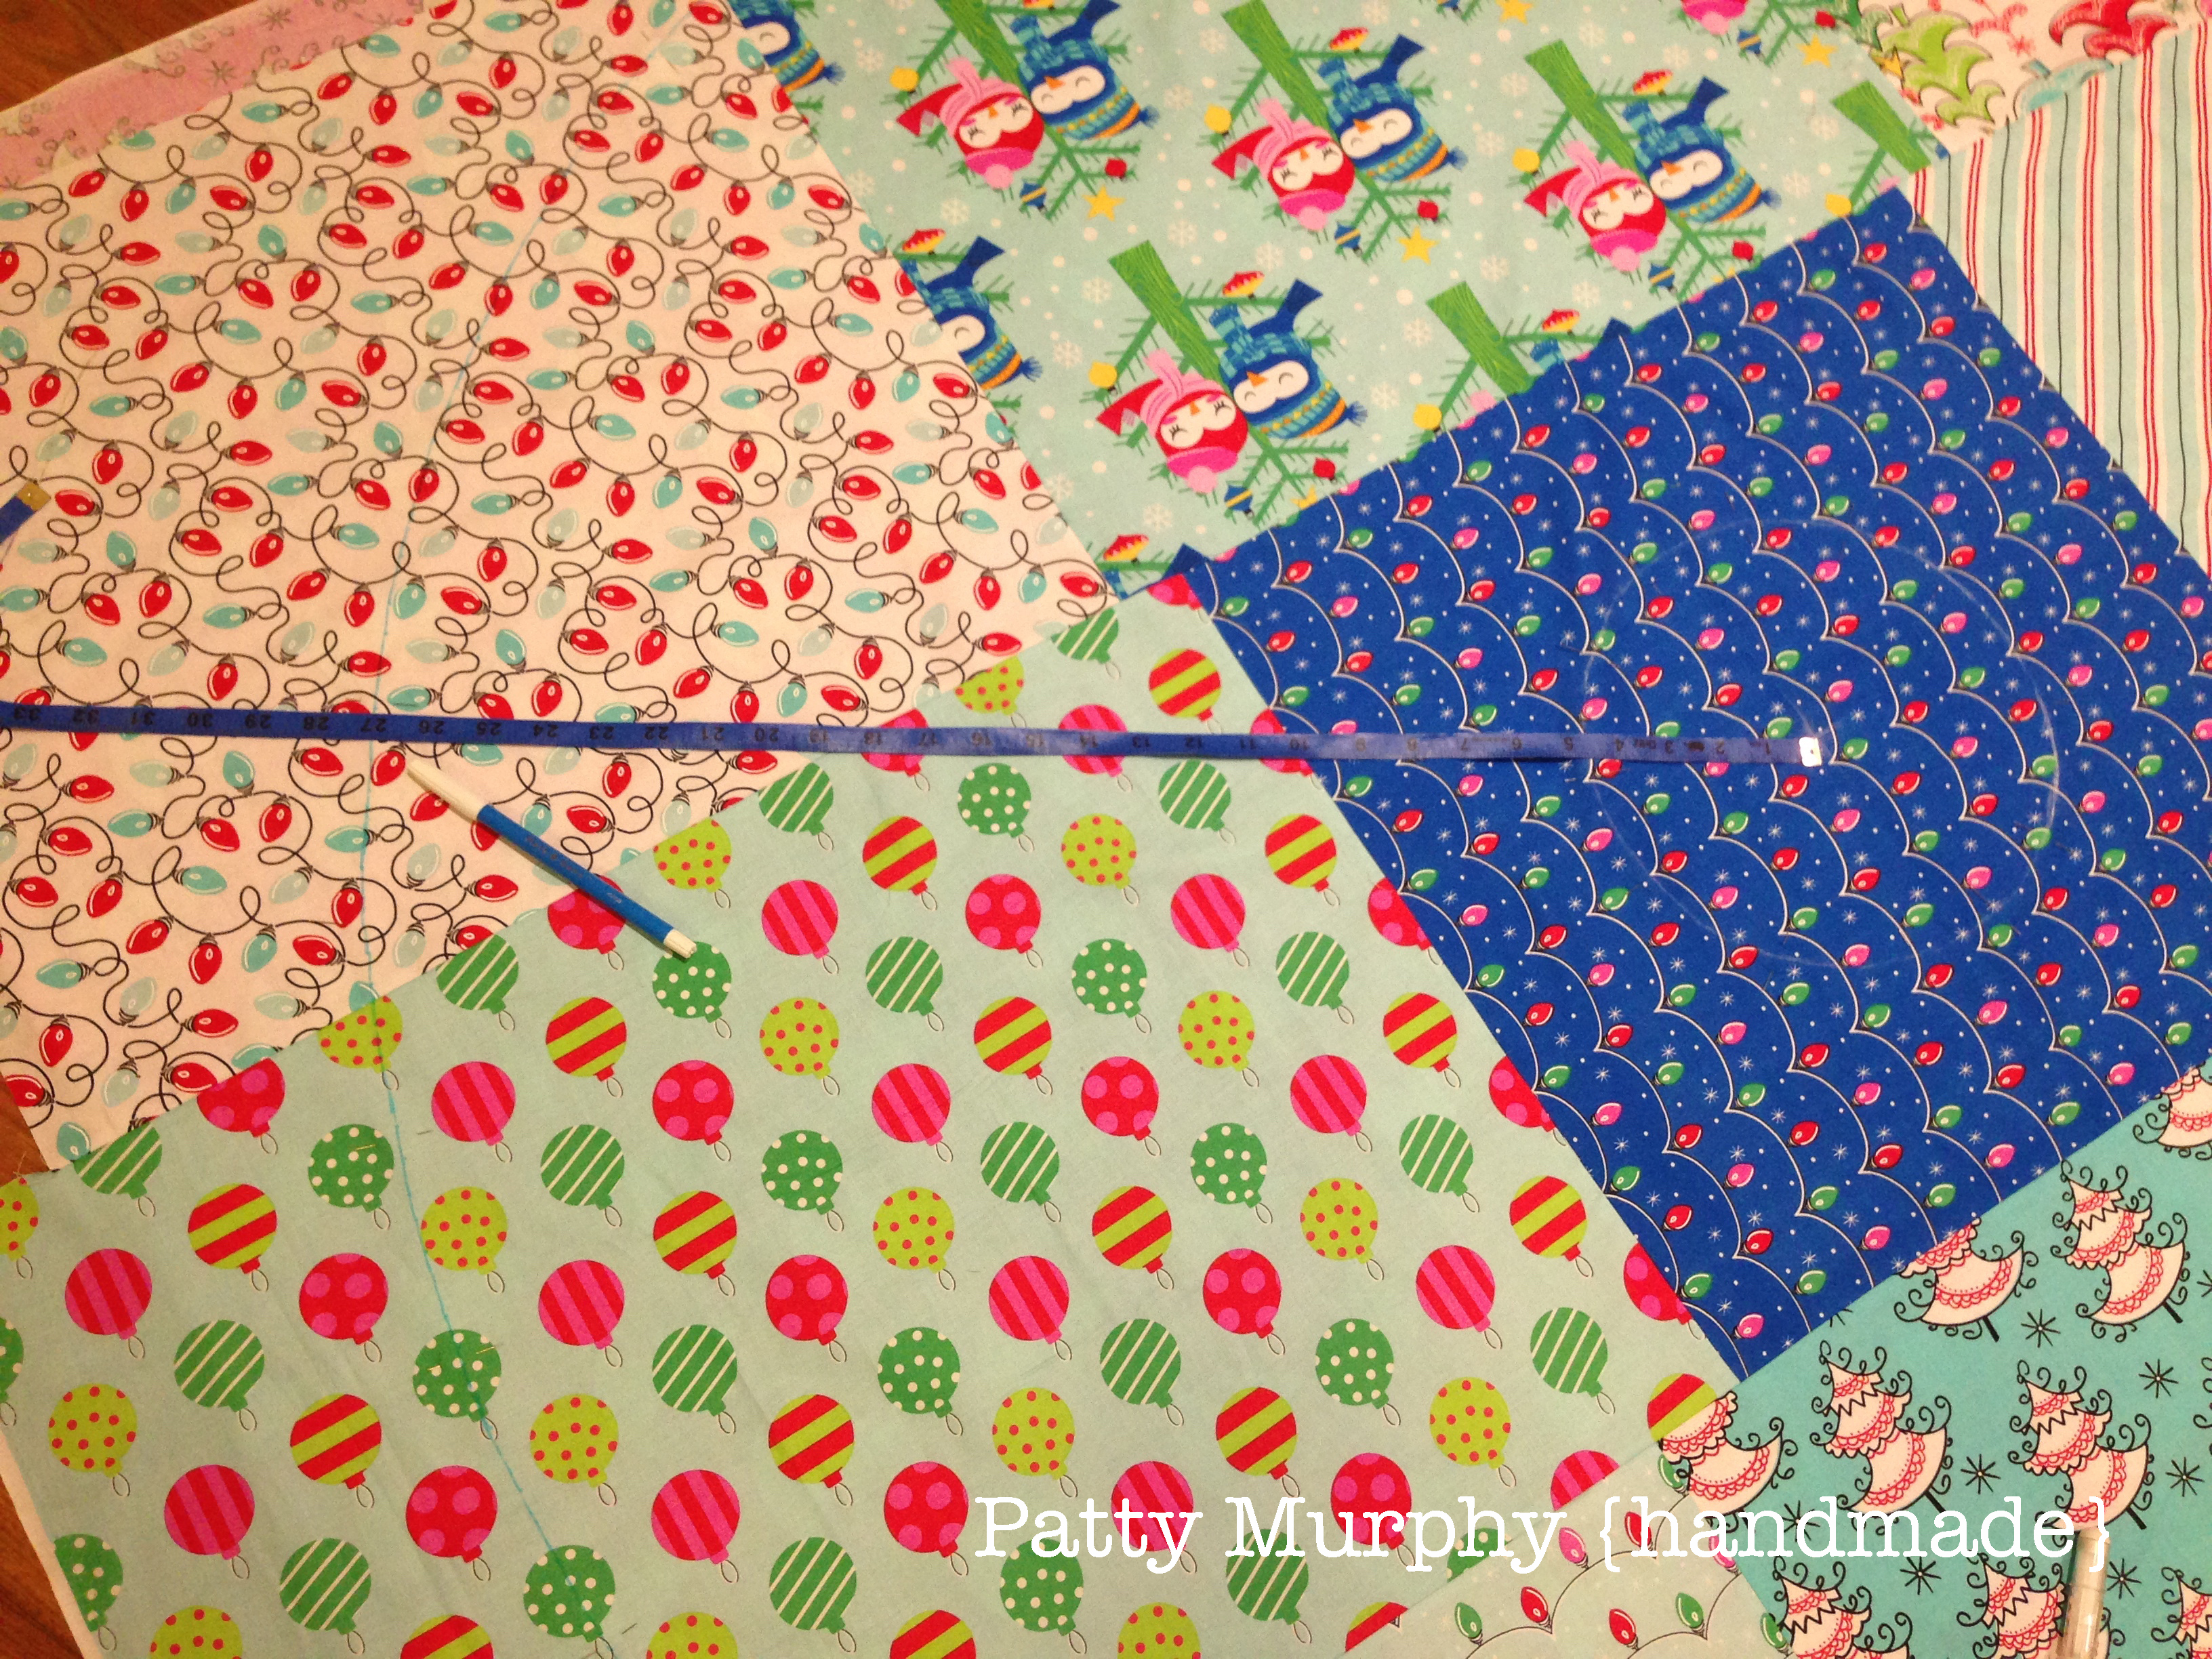
9 fat quarters
4 – 1/2 yard pieces for yo-yo’s and handprint borders
buttons – approximately 80
1/2 yard solid fabric
1/2 yard for binding
1 2/3 yard for back plus an 11″ x 60″ strip of fabric
3/4 yard of ric-rac or ribbon (cut into 9″ pieces)
acrylic paint to match
something round to cut yo-yo’s
marking pen
tape measure
basic sewing supplies – sewing machine, scissors, thread, pin
I started by making my yo-yo’s. Trace circles on your fabric and cut them out. I used a 4 1/2″diameter circle for my yo-yo’s, and you’ll need to make 80. I have a set of templates from Karen Kay Buckley’s Perfect Circles that made it very easy to trace, but any round object you have in your house will work. The number of yo-yo’s you need may change slightly if you use smaller or larger circles for your yo-yo’s.


Make your yo-yo’s, then sew a button in the middle. Any buttons that were too small were layered with another button. Put your yo-yo’s in a bag until the tree skirt is made.

Determine fabric placement for the top of your tree skirt. I put the fat quarters on my floor and played with them until I was happy with how they looked. Once you know where you want your fabrics, cut the center block 18 1/2″ square. Sew three rows of three fat quarters, then sew the rows together. The two outer rows won’t match corners with your center block. That’s okay.
To make the bottom of your tree skirt, start by trimming the selvedge off one side of the 1 2/3 yard piece. Sew the 11″ strip to the 1 2/3 yard piece to make a 60″ x approximately 56″ square (can vary depending on WOF).
Place the bottom of the tree skirt to the floor with the right side DOWN. Use some masking tape to secure it, then place the top of the tree skirt over the bottom piece with the right side UP.

Find the center of the center block, and mark it. Once you have the center, measure 4 1/2″ from it in each direction, working your way around and making a circle. I used chalk, but a pencil works better.

Measure 26″ from the center in every direction to make your outer circle.
Once you have your circles measured, pin, pin, pin! It is important to pin like crazy so you don’t get any wave in the top or bottom pieces. Once you’ve pinned the circle, draw straight lines from the inner circle to the outer circle to make your opening. I played with it until I found angles and opening sizes that I liked. You can also grab an old tree skirt and use it as your pattern. Baste the pieces together with a scant 1/4″ seam.

Once you’ve basted the top and bottom together, cut off the excess fabric.


I chose to attach my pieces with bias binding, but you can finish it any way you’d like: sew the pieces together, serge the edges, add a ruffle, add decorative trim – the possibilities are endless.

Attach the binding, or finish the edges however you’d like, then sew on the yo-yo’s. Be sure to pull out any basting stitches that peek out.

Cut 6″ x 7″ rectangles from the solid fabric and cut 2″ strips of fabric to border the handprint blocks. Sew the border print to the solid block, then iron the border piece in half to the wrong side. I didn’t want a huge border, and if you iron the fabric back it’s easier to attach to the tree skirt.

Use ric rac or ribbon to secure the tree skirt together while it’s under your tree. I tacked a piece of ric rac three inches, and about halfway down, on each side of the tree skirt. Ideally you’d attach the ric rac before you bind or finish the edges, but I forgot, and since this is used once a year I decided it’s alright. I stitched in the ditch to make my error less noticeable.

Sew the blocks you’ll use for the handprints to the tree skirt. I tacked them down in each corner and the middle of each side so I can re-position the blocks as the years pass. Once they are in place, put acrylic paint on little hands and make your mark. If your kids are really small, it may be easier (better, less messy) to work with paint before putting the handprint blocks on the tree skirt. You can leave some of the blocks blank and add a handprint each year. You could also add photos, or generally embellish however you’d like. Just have fun!

Merry Christmas, y’all!
This would be a great surprise present that I could help the grands make for their parents. Thanks for sharing <3